|
Avatar SDK Unity Cloud plugin
3.0.1
Realistic avatar generation toolset for Unity3D
|
|
Avatar SDK Unity Cloud plugin
3.0.1
Realistic avatar generation toolset for Unity3D
|
1) Create an avatar prefab.
2) Import SALSA LipSync Suite plugin from the Unity Asset Store into an empty unity project.
3) Import the avatar prefab into this project.
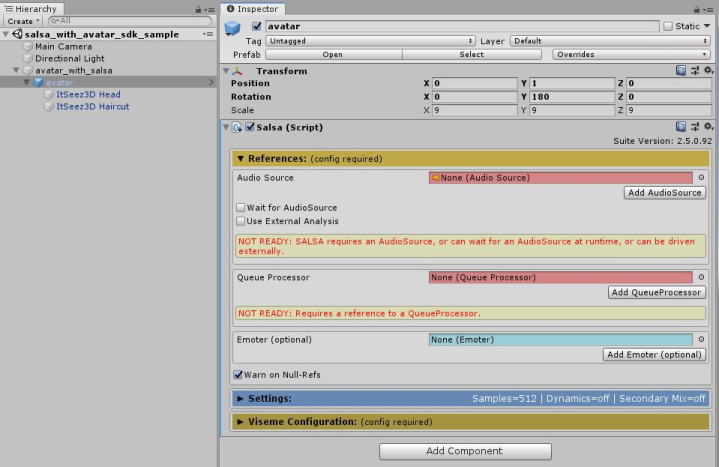
4) Create a new scene. Create an empty object and add the avatar prefab as a child of it.
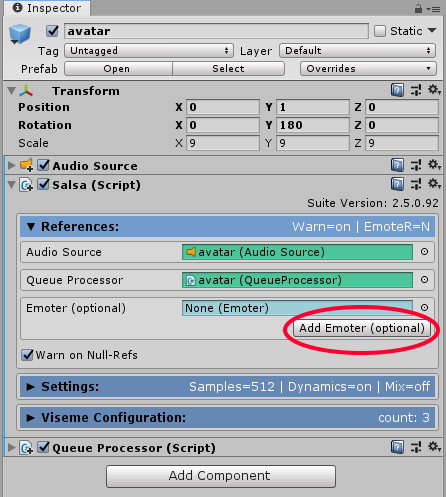
5) Add a Salsa script to the avatar object, press Add AudioSource button and press Add QueueProcessor button.
6) Add an AudioClip to the Audio Source component.

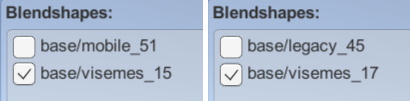
7) Configure visemes. We recommend using DD, CH, aa blendshapes for the saySmall, sayMedium, and sayLarge visemes corresponding.
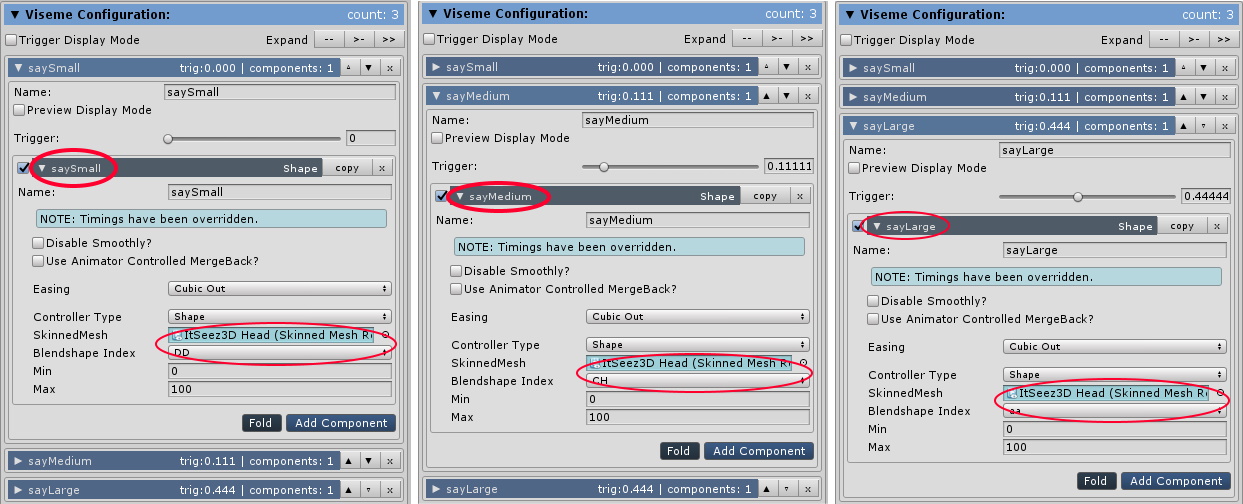
8) Now you can run the scene and see that the lipsync works.
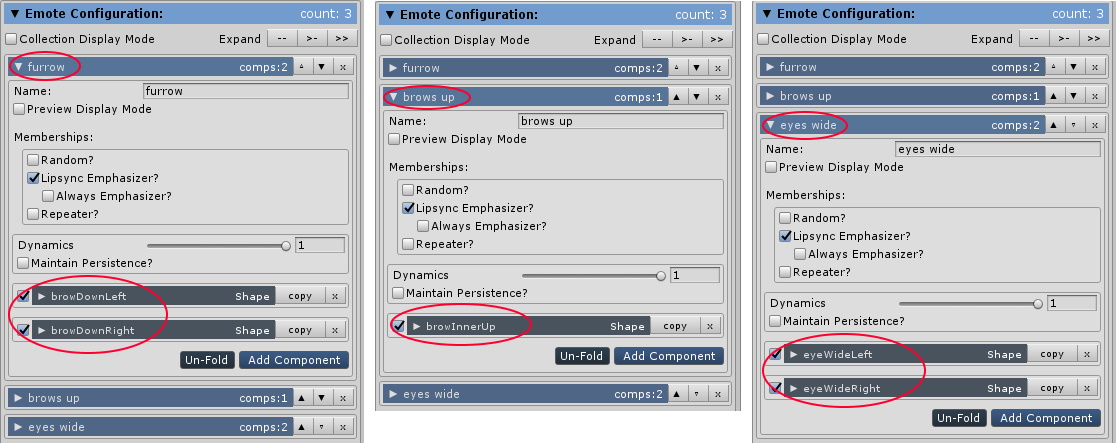
1) Add the Emoter component to the avatar object.
2) Add emotions to the Emoter component. We recommend to use the following emotions and blendshapes for them: furrow (browDownLeft and browDownRight blendshapes), brows up (browInnerUp blendshape), eye wide (eyeWideLeft and eyeWideRight blendshapes).
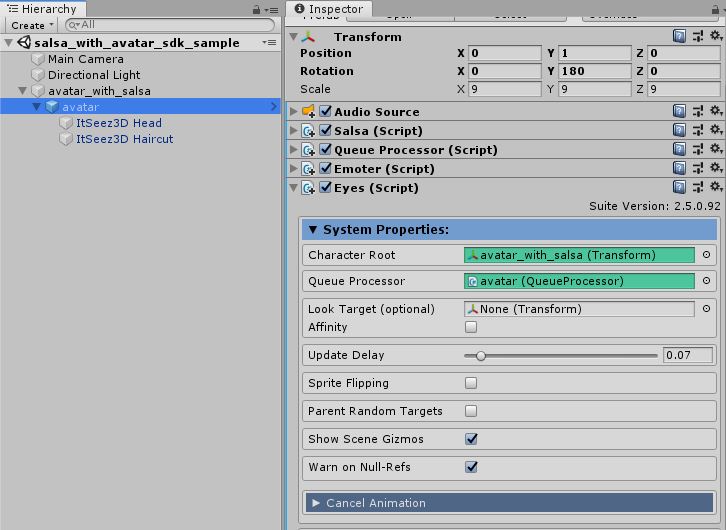
1) Add the Eyes component to the avatar object. Set the parent of the avatar object to the Character root field and add the existed Queue Processor.
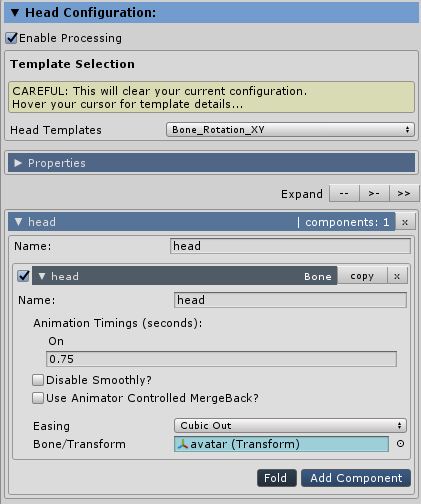
2) In the Head Configuration section set the Head Templates to the Bone_Rotation_XY and Bone/Transform to avatar object.
3) Configure eye properties. Set Eye Templates to Blend Shapes and FoV Offset (X, Y) to (0.5, 0.1).
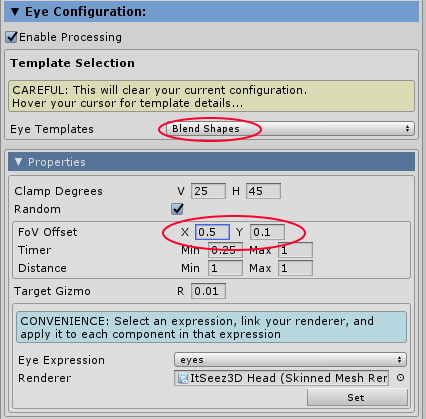
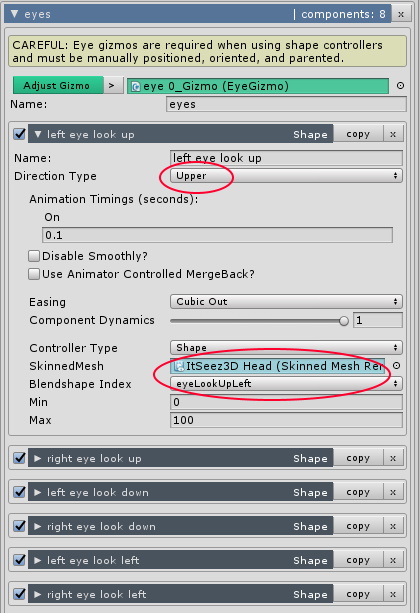
4) Press the New Eye button and configure the following blendshapes for directions:
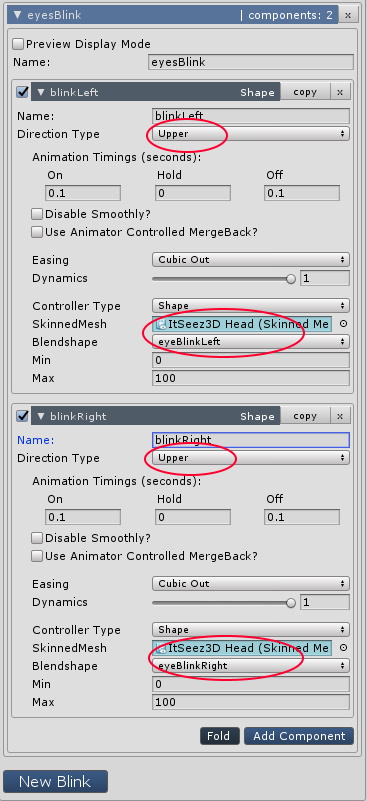
5) Configure eyelid properties. Set Eyelid Templates to Blend Shapes.

6) Press the New Blink button and configure two blendshapes (eyeBlinkLeft and eyeBlinkRight) for Upper direction.
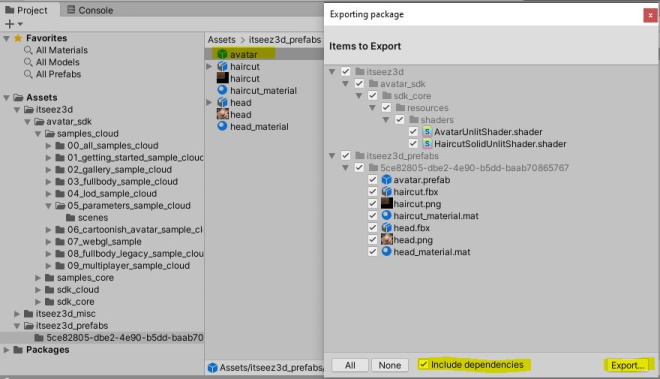
1) You can download the sample project at this link: Avatar SDK with SALSA LipSync Suite Unity sample.
2) Import the downloaded package into the unity project with SALSA LipSync Suite.
3) Run the Assets/itseez3d/sample/salsa_with_avatar_sdk_sample.unity scene.
 1.8.14